Project 4 - 3D Printed e-NABLE Hand
Building a scaled-up e-NABLE prosthetic hand using 3D printing, heat forming, and mechanical assembly techniques.
Project 4 - 3D Printed e-NABLE Hand
Project Description
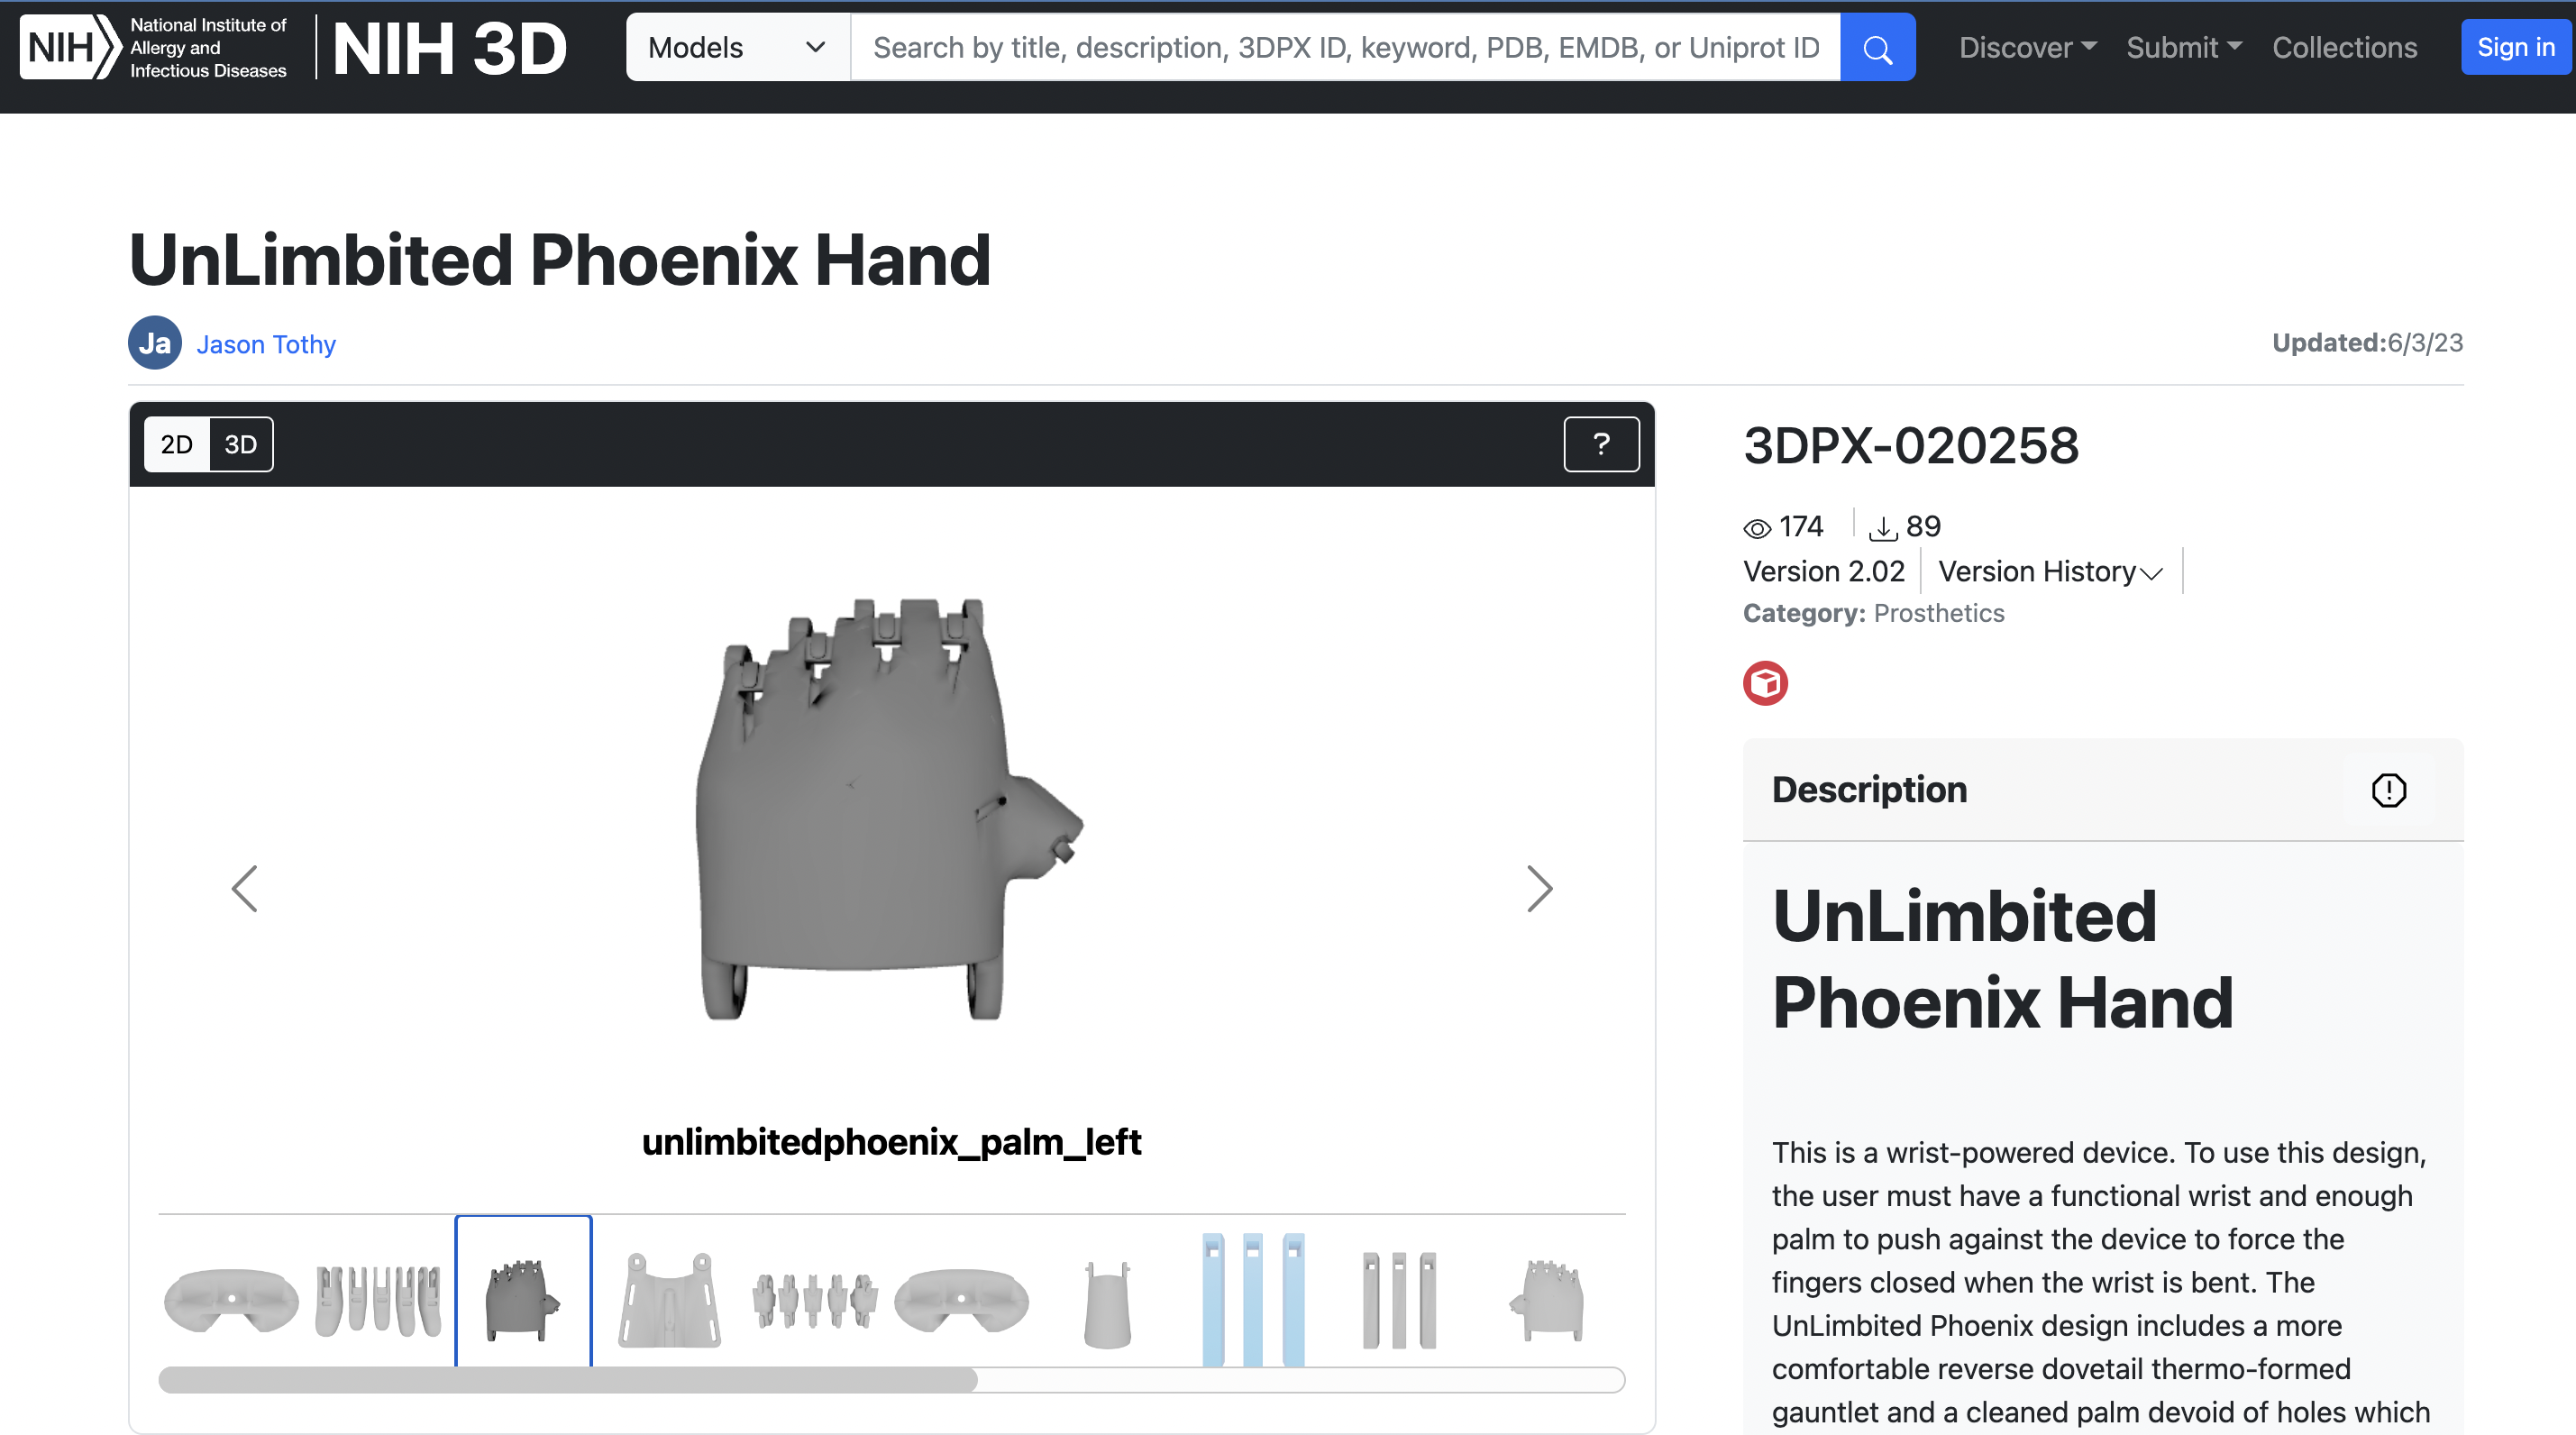
For this project, I'm tasked with scaling up an e-NABLE hand and building it with the toolkit. Me and my teammate Ivy downloaded the files for the UnLimbited Phoenix Hand right hand model, and we started working on it.
Printing Process
Initially, we thought we were going to use Raise3D printers, so we scaled the model to 150% sliced it in Ideamaker. Here are some screenshots:


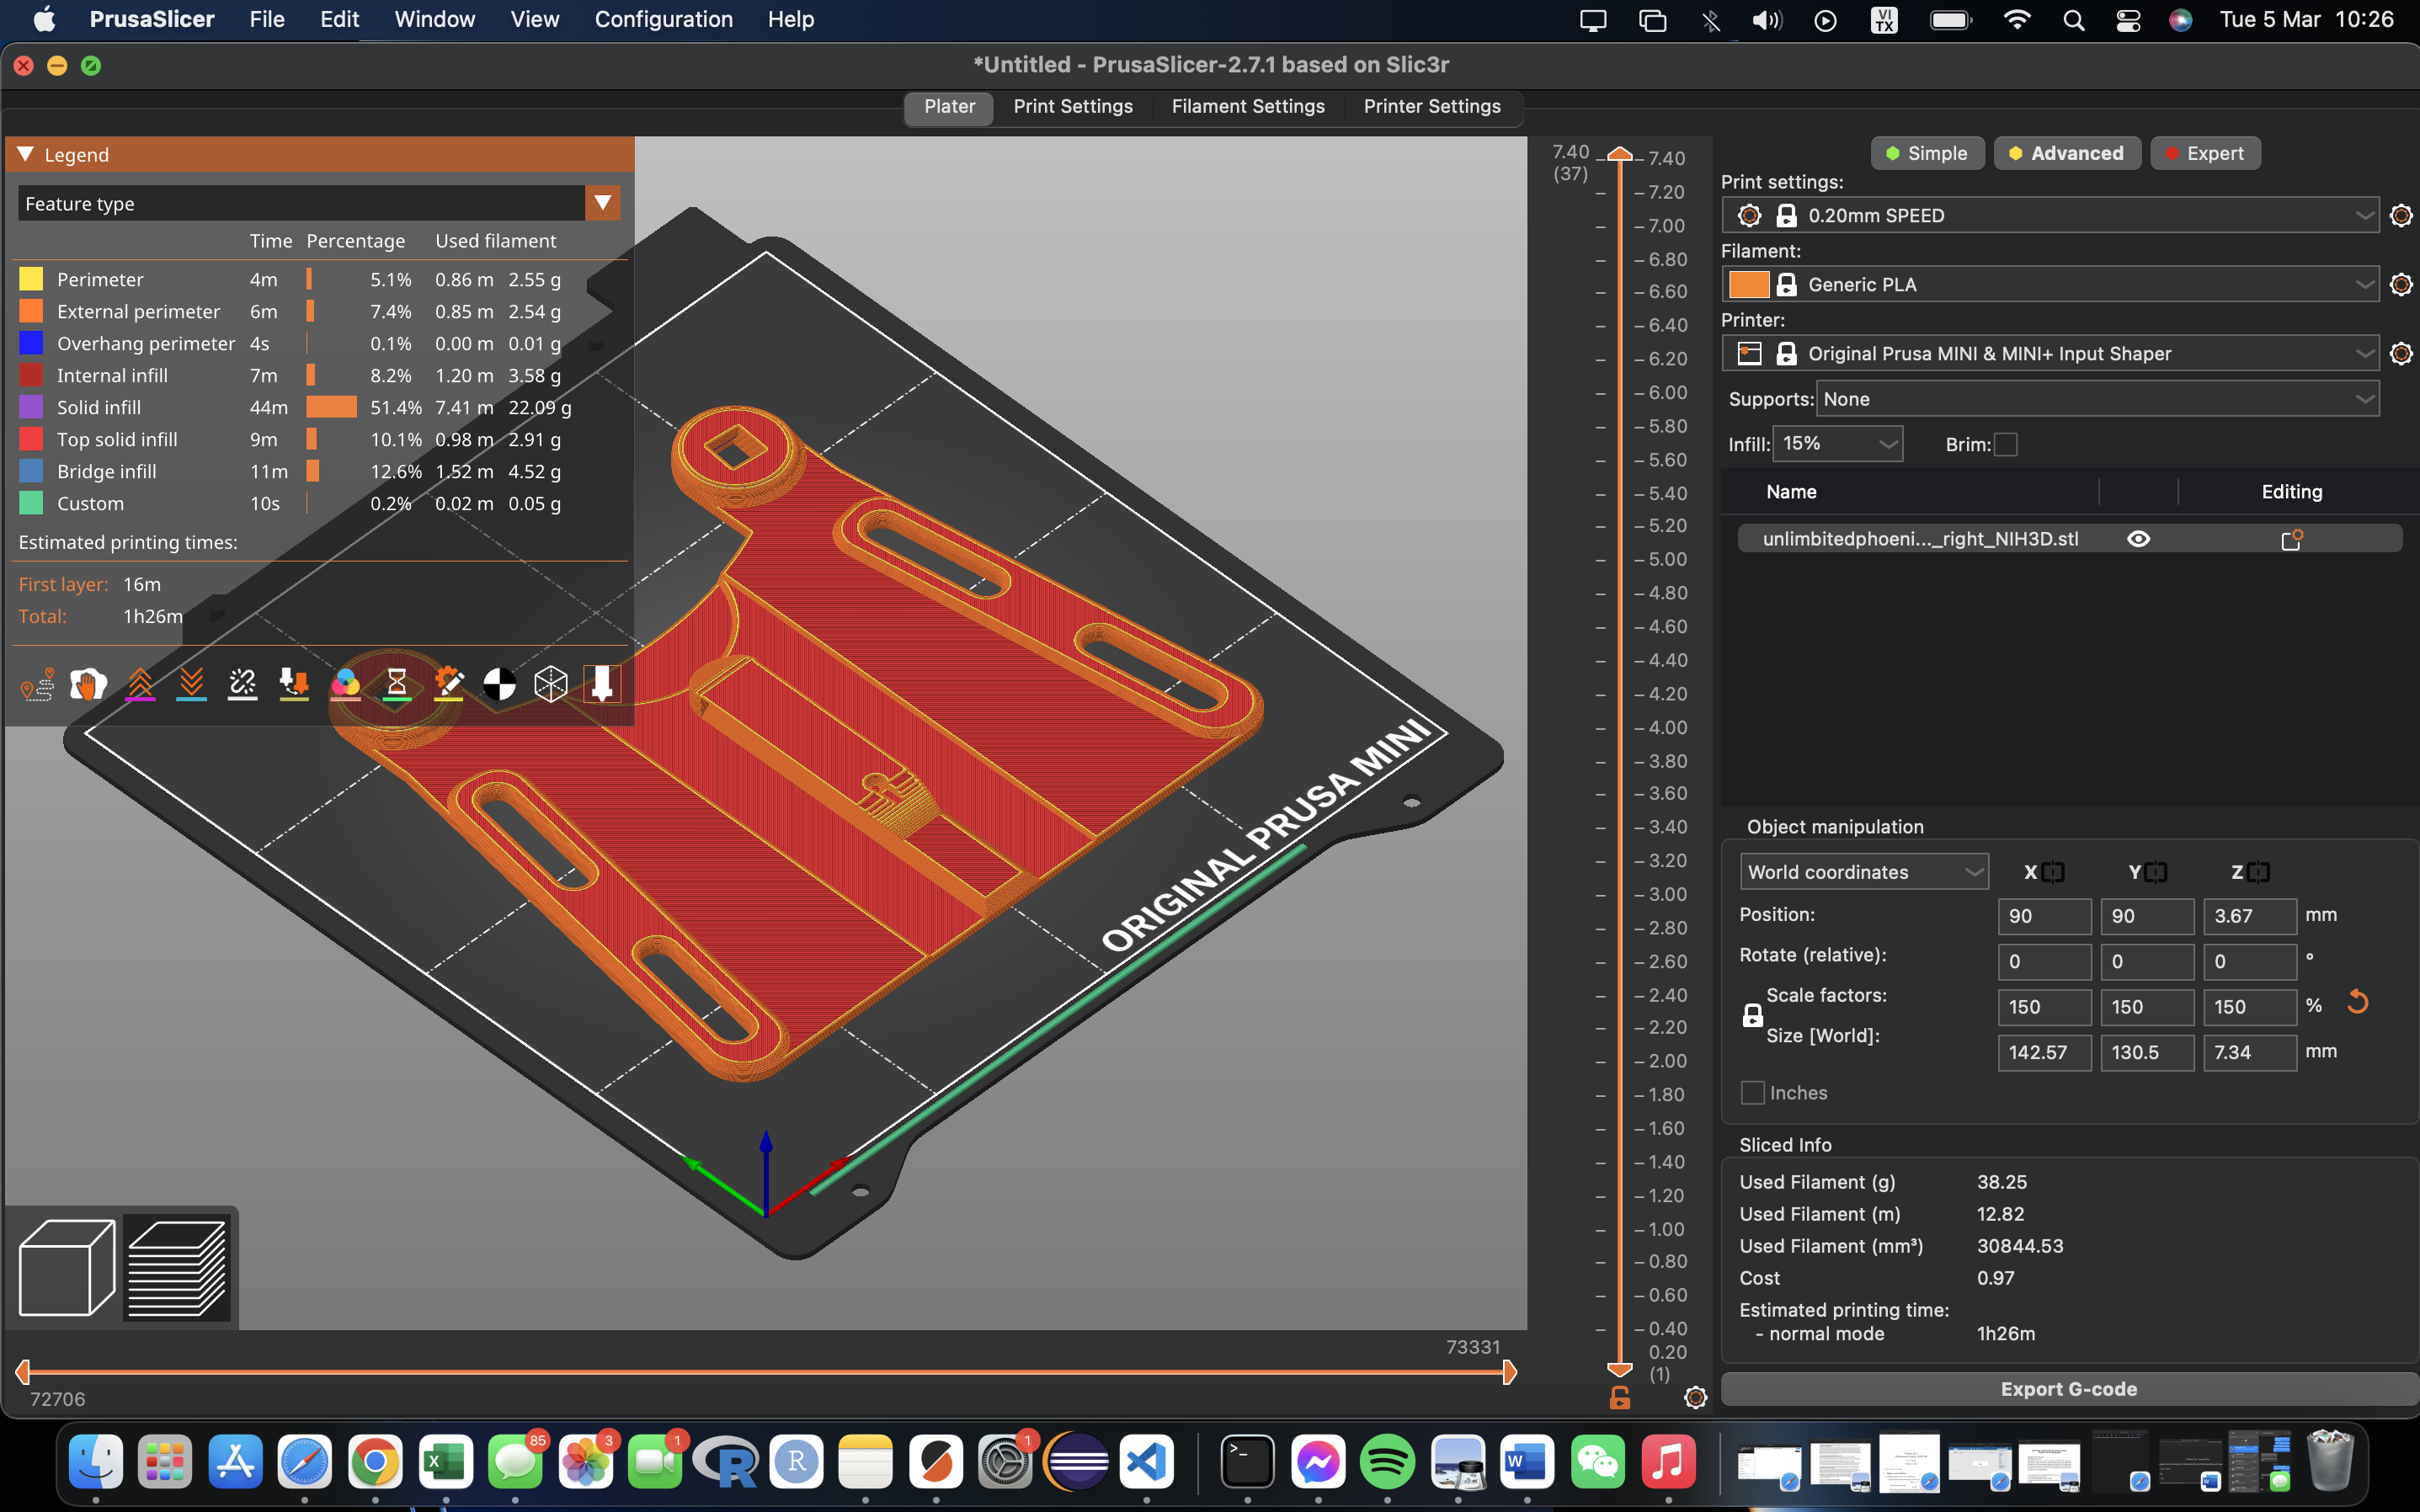
But turns out that all the Raise3D printers were taken, so we opted for the smaller PrusaMinis. They are not bad in terms of quality, but we have to split our print onto several devices. Good thing is we can use different colors on different parts, so ours may look fancy.
Here it is in Prusa slicer (one of six):
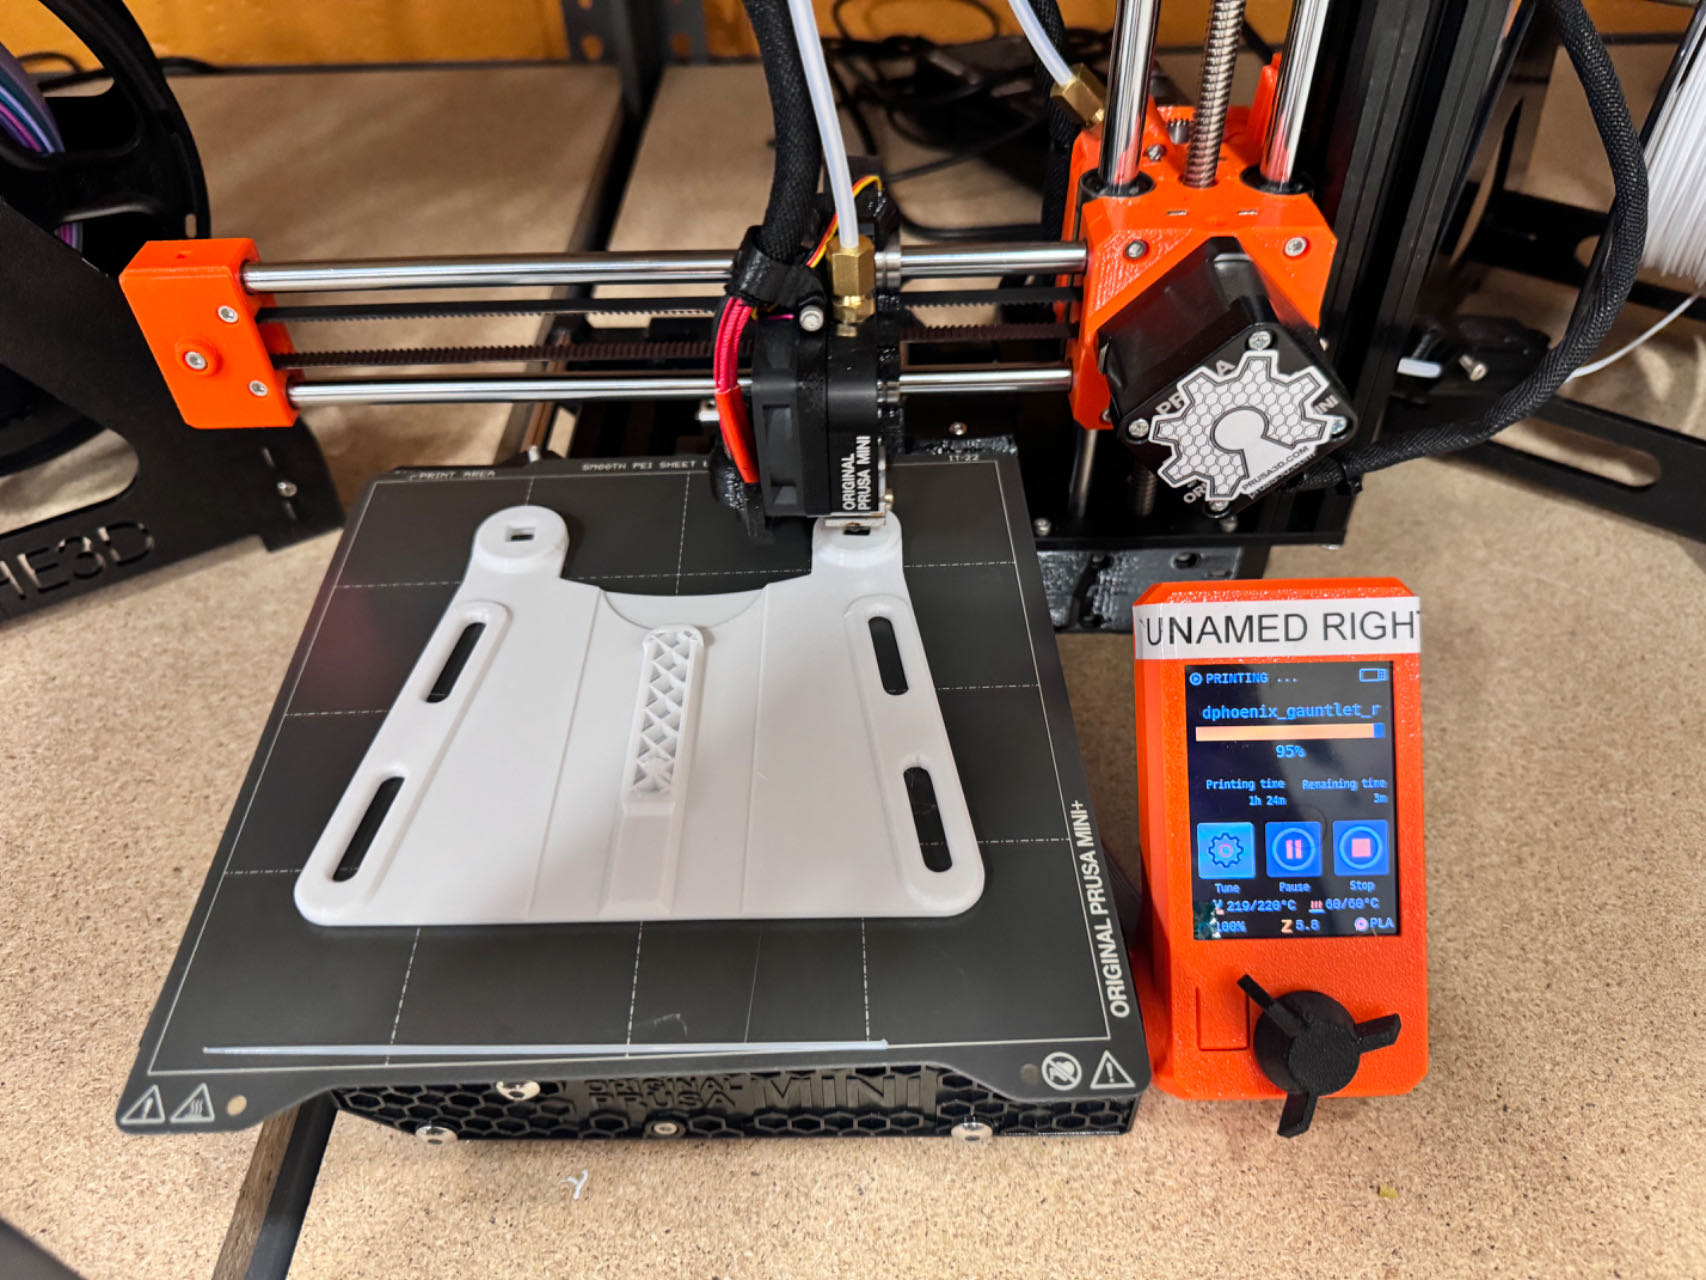
The printing process took a long time, as two of the prints failed and we had to reprint. After we have all the parts, it's time to mold the flat piece into a curved shape, using a heat gun and some PETG molds we were provided with. I forgot to document this process, but it was strange; it slowly started to bend after a bit of heating like it was cheese, then it slid right into the mold without me doing anything else.
Heat Forming Process
This is the part that needed molding:
After molding:

Assembly Process
After getting all the parts ready, it's time to assemble. I looked at the videos they provided for installation:

But then I figured that looking at a finished product would save more time, so I assembled the hand looking at the finished model, stringing through the holes and putting on rubber bands. It wasn't too hard, and here are some pictures of progress:

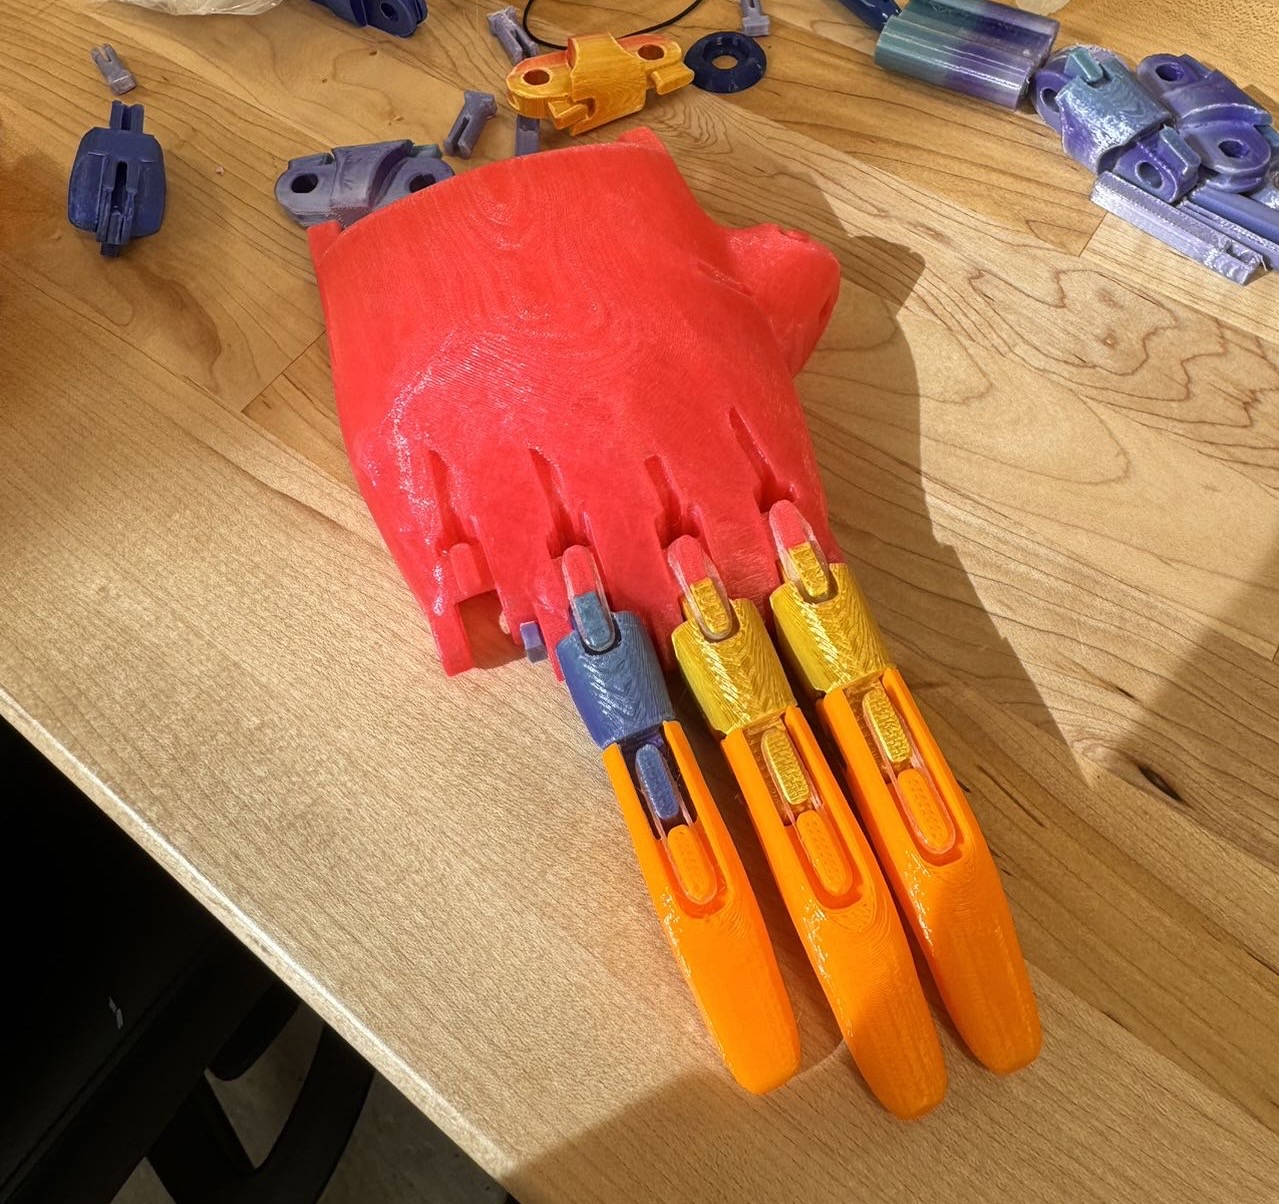
After assembling it all, I adjusted the string's length so all the fingers would move in sync with the wrist movement.

Final Result
And... It's done!
Here it is by the window:


What I Learned
This project taught me about:
- Multi-part 3D printing coordination
- Heat forming thermoplastics
- Mechanical assembly with strings and elastics
- The importance of the e-NABLE community in providing accessible prosthetics
- How 3D printing is democratizing medical device manufacturing
The e-NABLE project is incredible in how it brings together volunteers to create prosthetic devices for those in need, particularly children who quickly outgrow traditional expensive prosthetics.